|
Others requirement
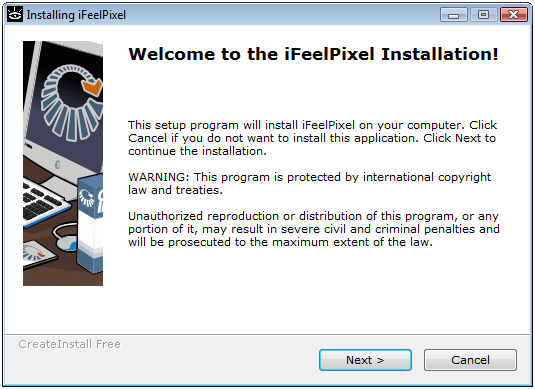
 Installing iFeelPixel Installing iFeelPixel
To install iFeelPixel, you should follow the following simple steps:
1. Download the installer program to a location on your hard drive (e.g., C:\temp).
2. Run the installer program by double-clicking on the
"iFeelPixel_tactileware", "iFeelPixel_setup" or "iFeelPixel_professional" executable icon. If the file is blocked by Windows Smartscreen, see unblock file in Windows or Change Smartscreen settings
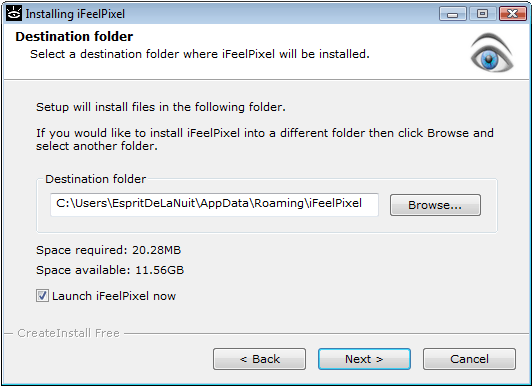
3. Follow the instructions of the installer program to install iFeelPixel.
4. Done! Congratulations! iFeelPixel should be installed on your machine. Enjoy!
Others requirement
The Novint Falcon requires D2XX Drivers. This package is launched after iFeelPixel installation.
SteelSeries Engine must be installed for SteelSeries Rival 500/700 Gaming mouse to enable tactile alerts.
**What files are installed?**: The iFeelPixel installer will install the
following files on your system:
* hotsamp.ifr (Immersion Force Resource)
* notes.ifr (Immersion Force Resource)
* zmouse_emoticons.ifr (Immersion Force Resource)
* MyVibe.ivt (Immersion VibeTonz Resource)
* ifeelpixeleula.rtf and ifeelpixeleula.txt (iFeelPixel - End User License Agreement)
* immersioneula.rtf (Immersion - End User License Agreement)
* iFeelPixel.exe (iFeelPixel application and configuration)
* some XML files
* some image files
* some sound files
* some xhtml files
* some registry keys
Disk Space usage: 30 MB
Note: if you encounter installation difficulties on Windows Vista, you can try to disable UAC (User Account Control) or extract the content of ifeelpixel compressed package in a folder of your choice.
By default, iFeelPixel software is not automatically started at Windows startup, but the user can enable manually this startup: File > Start-up >> Start with windows
|